
Run the carve
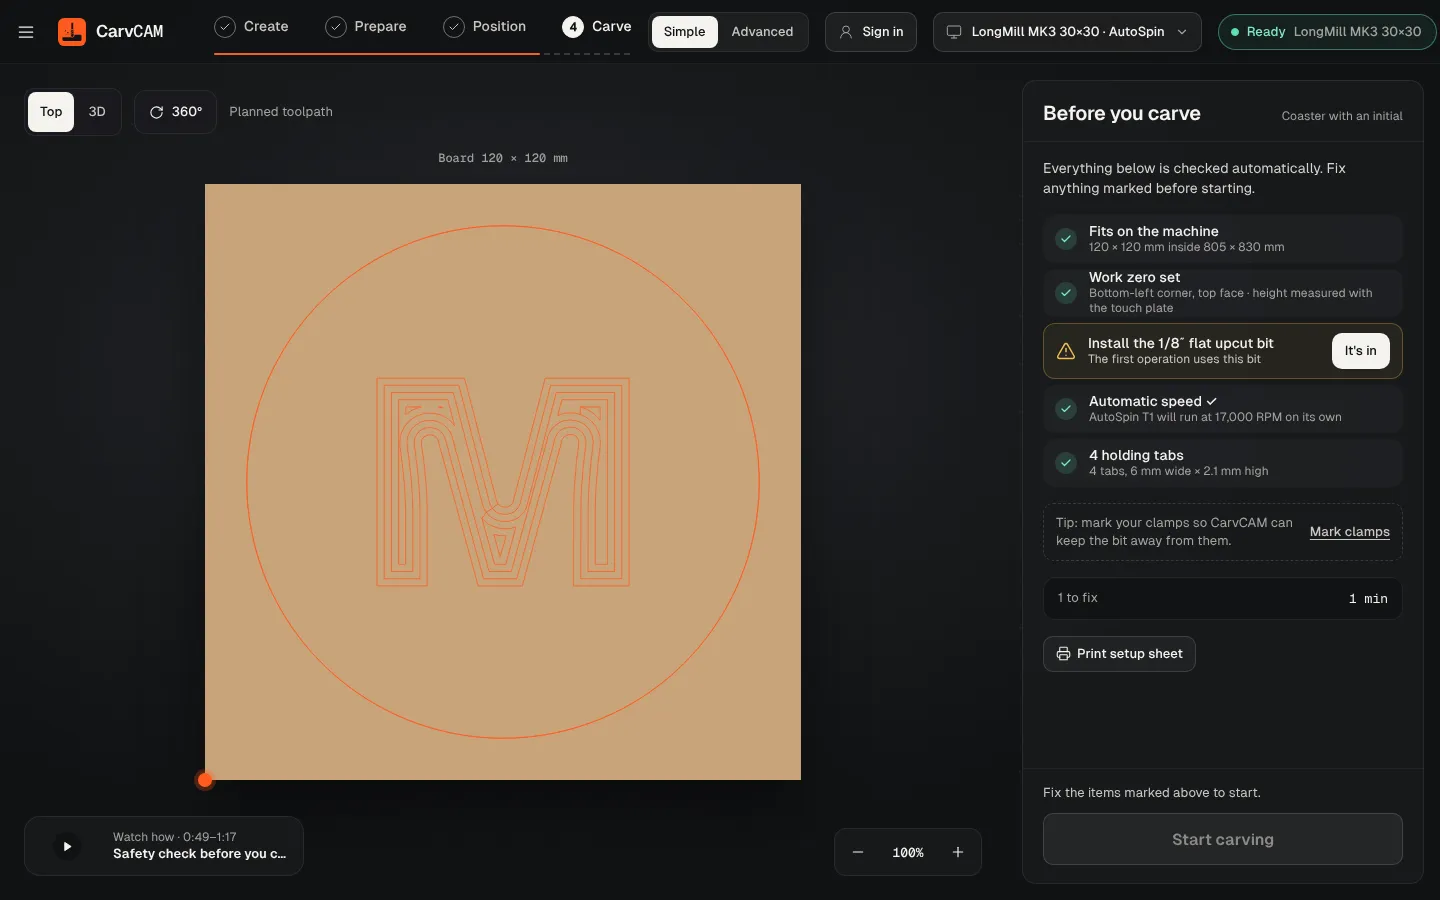
Before you start, a checklist has to turn green: size, zero, bit, speed and hold-down. Then you watch.
Check the list
Fix anything marked. For the bit, confirm with It's in once it's installed.
Start
Glasses on, then Start carving. On the first carve with each machine, confirm the safety steps first (below).
Watch
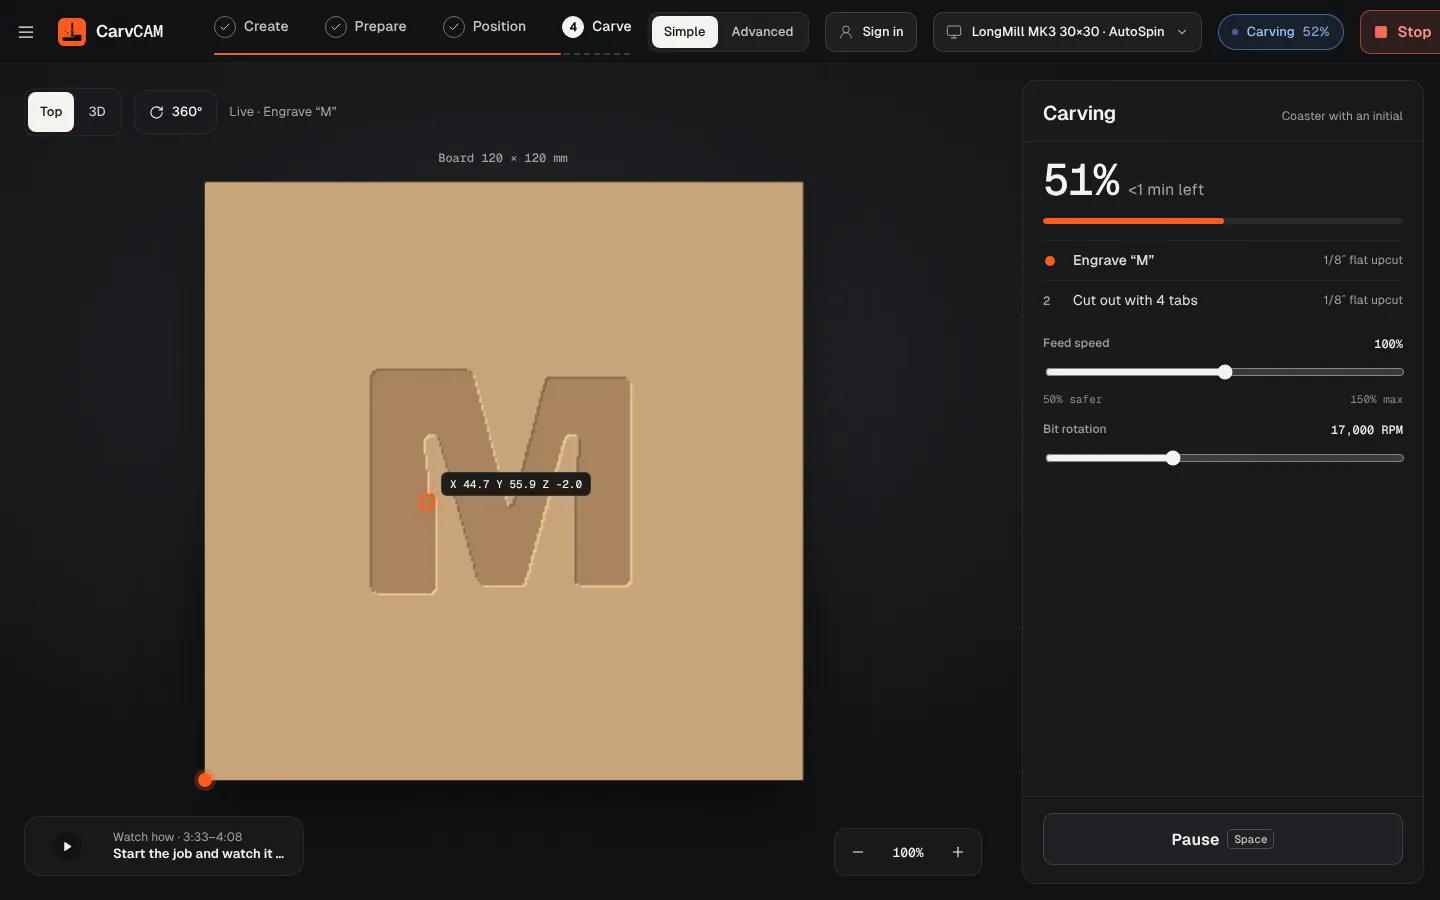
The preview carves on screen together with the machine. The panel shows progress, time left and the current operation.
First carve on each machine
CarvCAM talks to the controller directly, with no other sender in between. So the first time you press Start carving with a machine connected over USB or Ethernet, a First carve on this machine dialog asks you to tick three things:
| Tick | Why |
|---|---|
| Air cut first: set work zero about 10 mm above the board (or take the board off) | The first run cuts nothing, so a wrong move costs nothing |
| Hand on the E-stop, and you know Esc or Stop halts the machine | If a move looks wrong, you can stop it at once |
| Clamps, cables and hands clear of the bit's path, eye protection on | Nothing in the way of the first moves |
Start carving stays disabled until all three are ticked. Set zero higher first takes you back to Position to raise the zero. The dialog is asked once per machine; the Simulator never asks. You can always download the G-code in Prepare and run it in another sender instead.
During the carve
| You want to | Do this |
|---|---|
| Pause | Press the space bar or Pause. Resume continues from the same point |
| Stop | Press Esc or Stop. Everything stops safely and the position is kept |
| Go faster or slower | Move Feed speed or Bit rotation, from 50% to 150% |
Finish the piece
Clean up
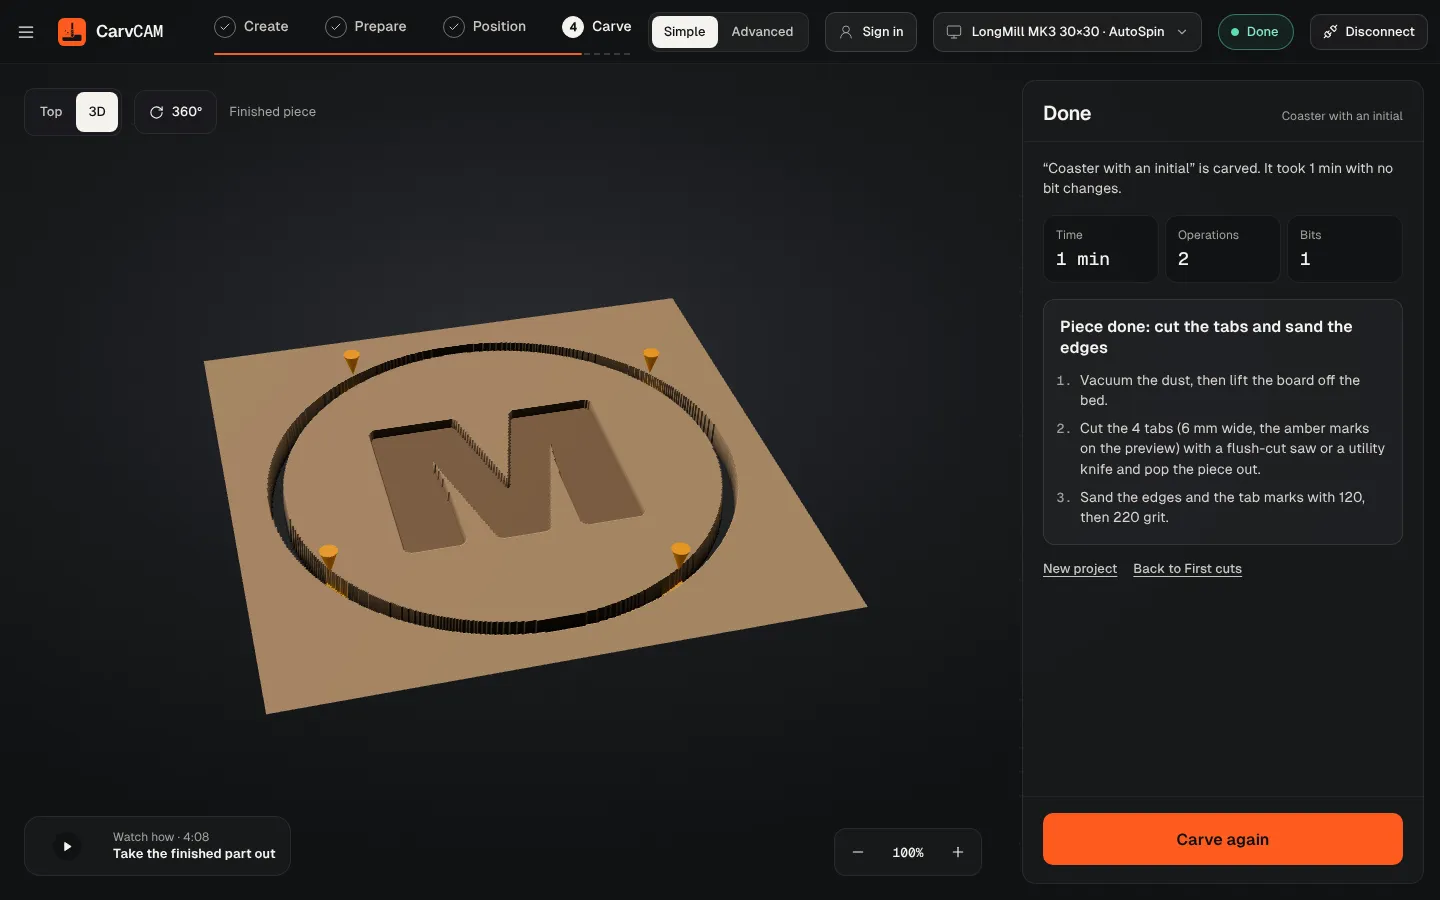
Vacuum the dust and lift the board off the bed.
Cut the tabs
Use a flush-cut saw or a utility knife and pop the piece out.
Sand
Sand the edges and the tab marks with 120, then 220 grit.