
Guide · 5 steps · about 60 min
How to V-Carve a House Number Plaque on a CNC
A step-by-step guide to a V-carved house number plaque: layout with text on an arc, V-bit setup, depth passes and finishing for outdoor use.
You'll need: 60° or 90° V-bit · Touch plate · Hardwood or cedar board · Exterior finish
Lay out the plaque
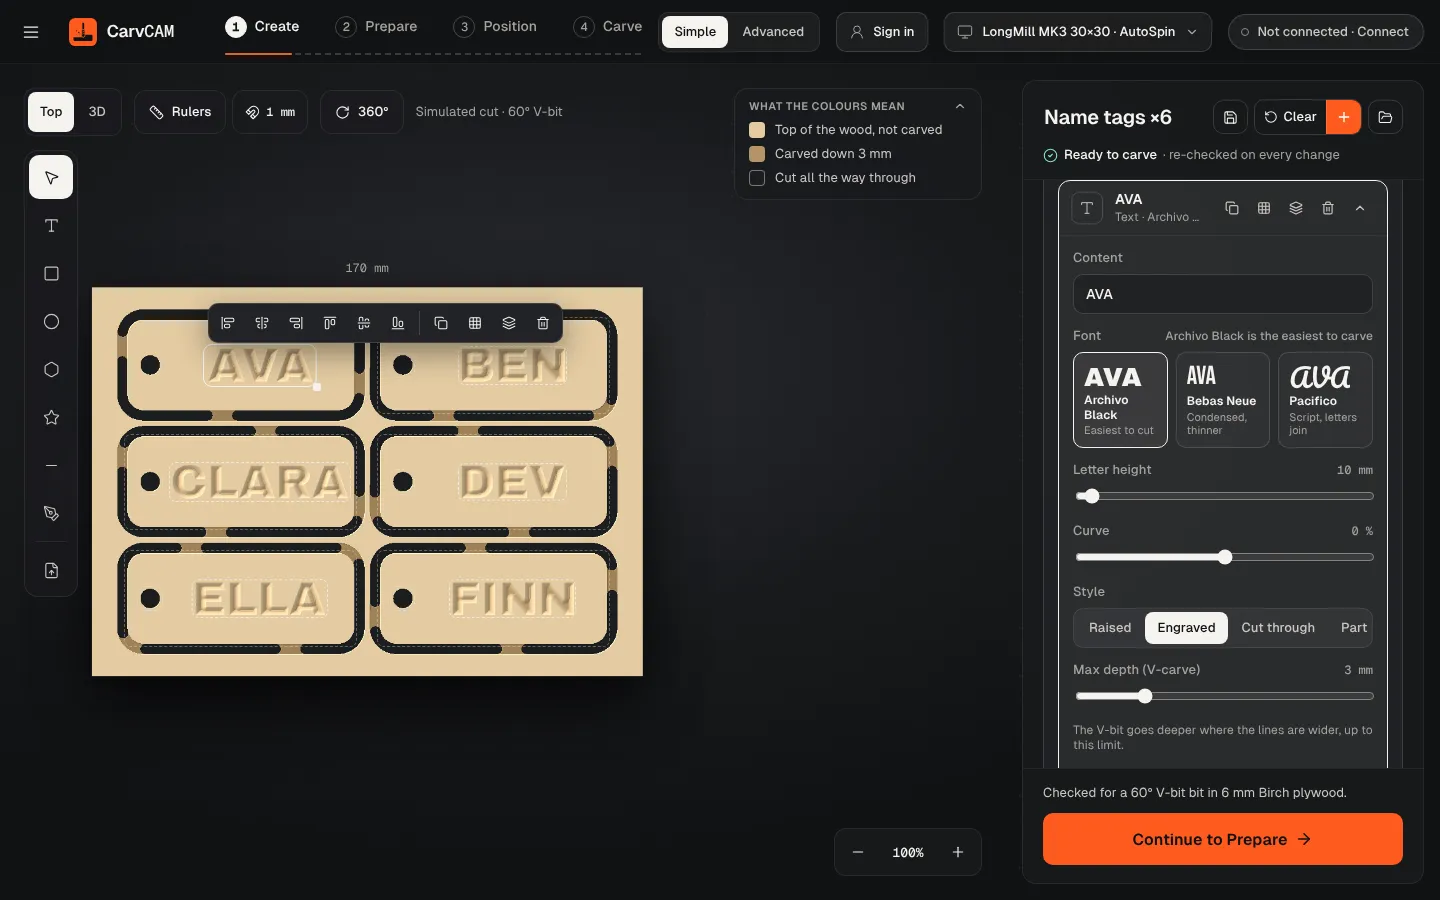
Add the house number in a bold font and the street name on an arc. Frame it with an oval or a double frame.
Set the letters to V-carve
Pick a 60° or 90° V-bit in Wood & bit and set the text to Engraved. Set Max depth (V-carve): CarvCAM computes the depth from the stroke width.
Check the preview
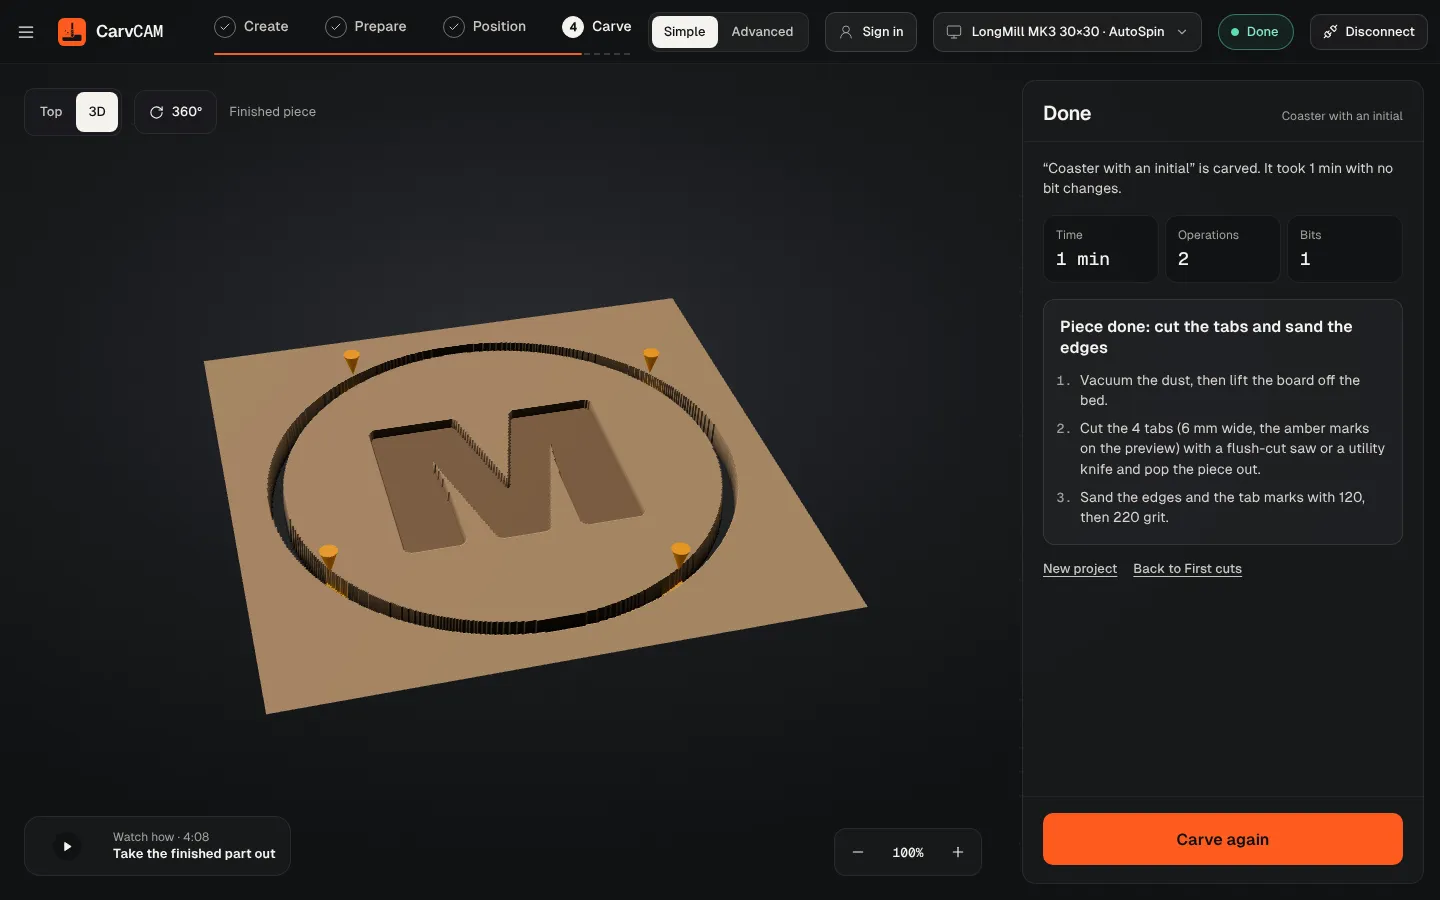
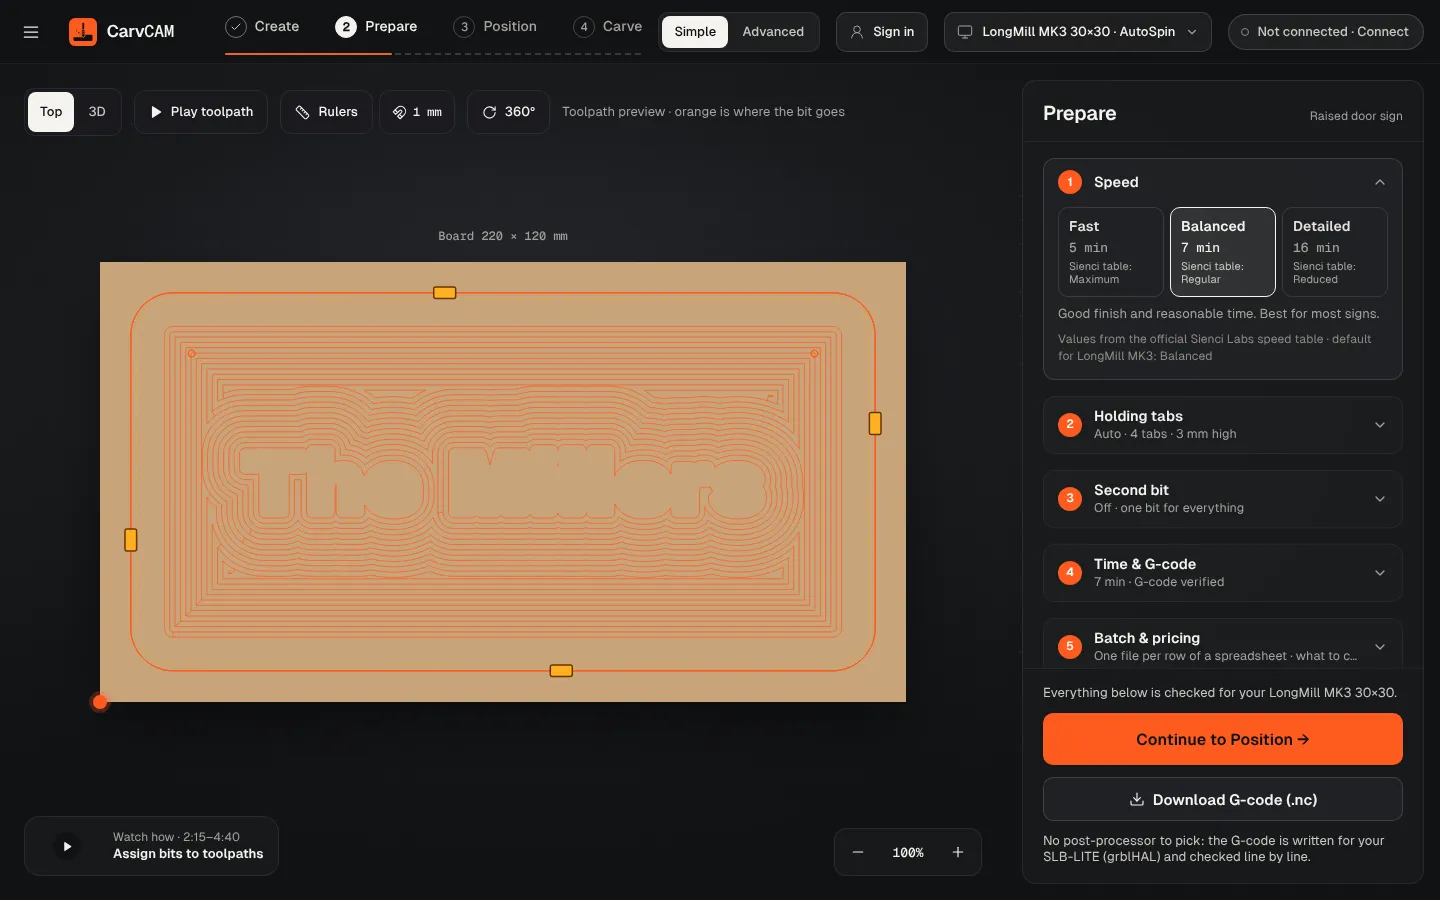
Play the toolpath and look at the 3D view; fix any warning with one click.
Zero on the board
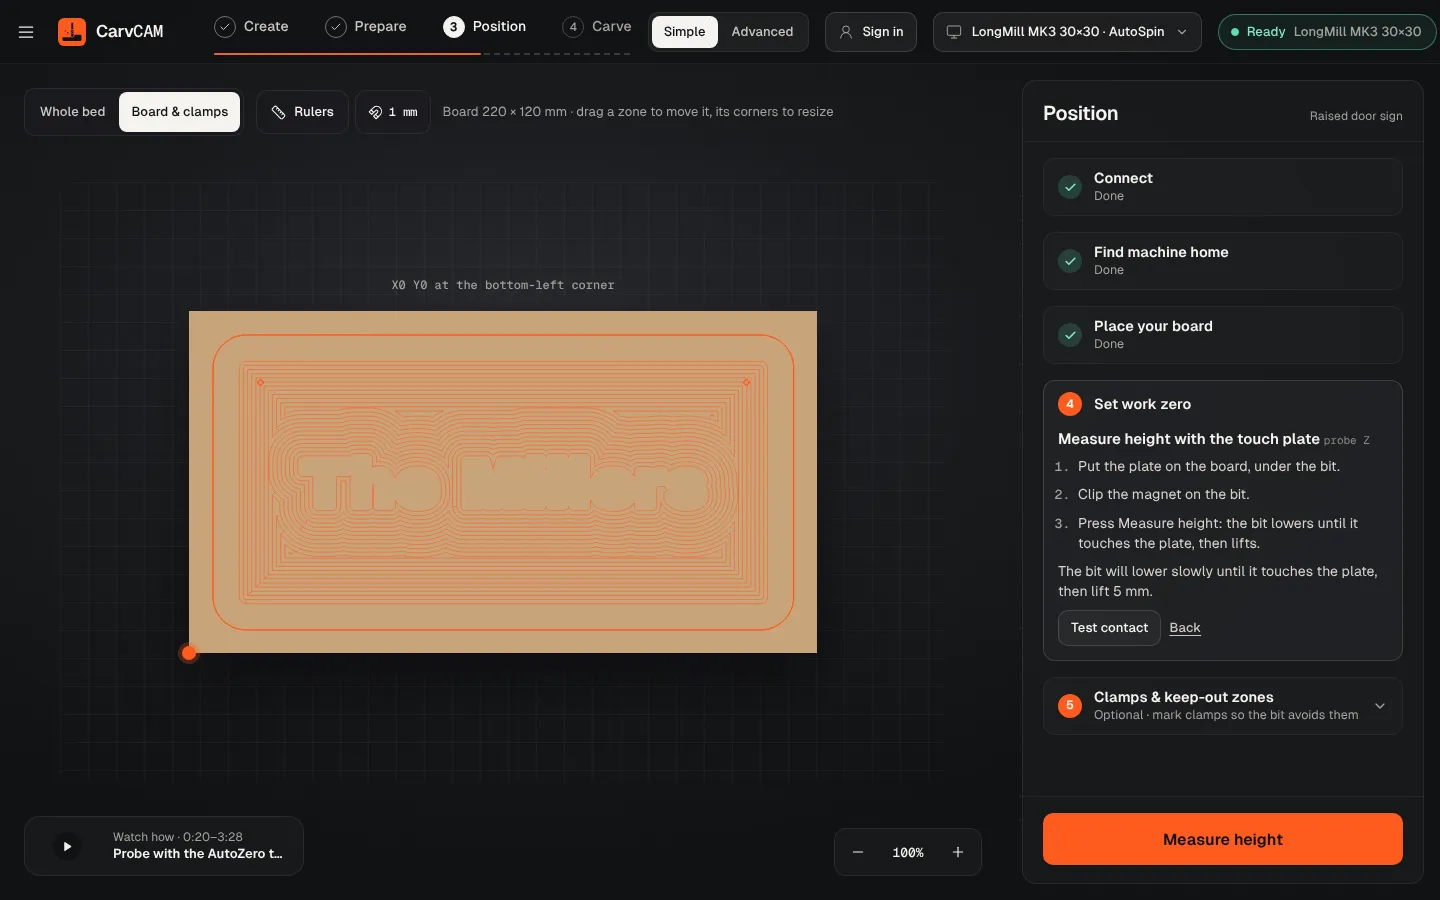
Home, clamp, measure the V-bit with the touch plate and set zero.
Carve and finish
Carve, then seal with an exterior finish so the plaque lasts outdoors.
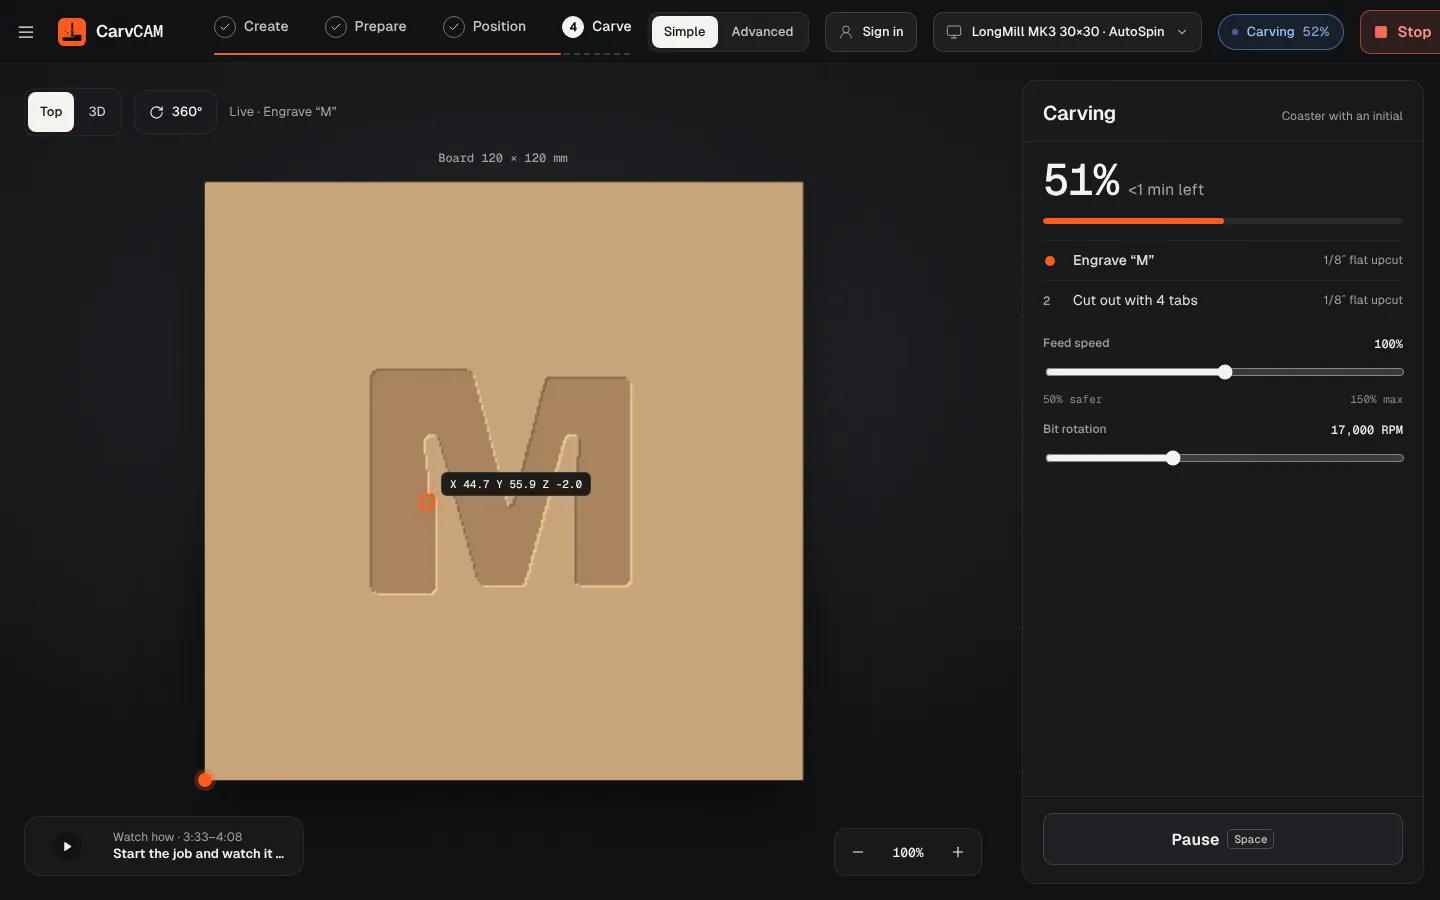
From blank board to finished sign.
One app for your LongMill or AltMill.
Download for Windows
Use online
Windows 10 and 11 · Mac · Linux · Raspberry Pi · Works offline · All downloads · See how it works