
How to Make a Wooden Sign with a CNC (LongMill Step by Step)
From blank board to finished sign on a LongMill or AltMill: design, pick a speed, set zero with the touch plate, carve and finish. With screenshots.
Design the sign
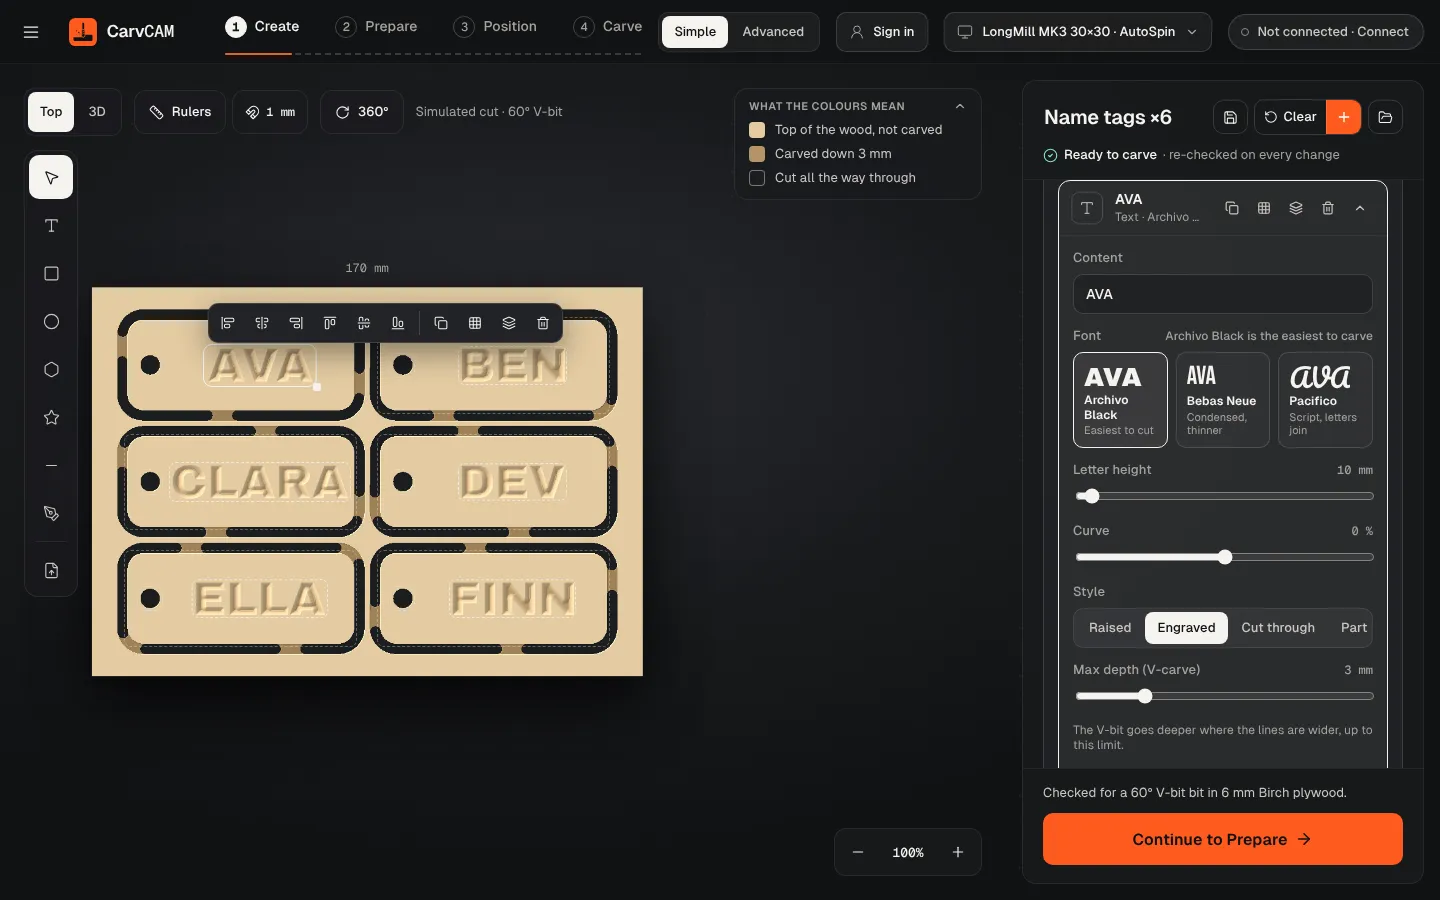
Type your text, pick a font made for carving, and add a frame from the element library. Set the letters to Engraved; with a V-bit picked in Wood & bit they come out V-carved.
Pick a speed
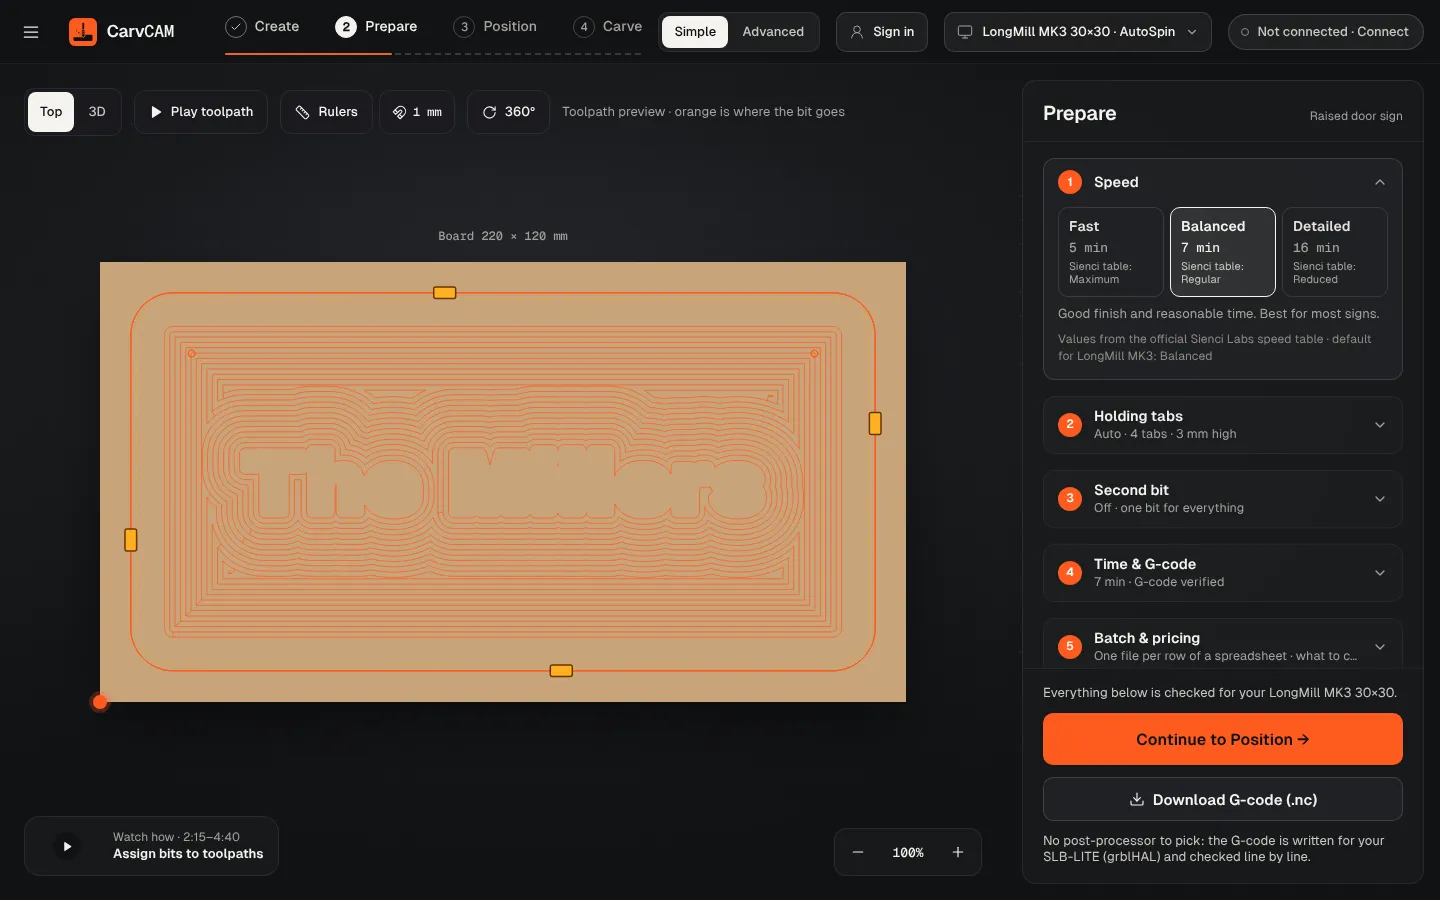
In Prepare, choose Balanced. Check the board size, depth and estimated time in the summary.
Connect and home
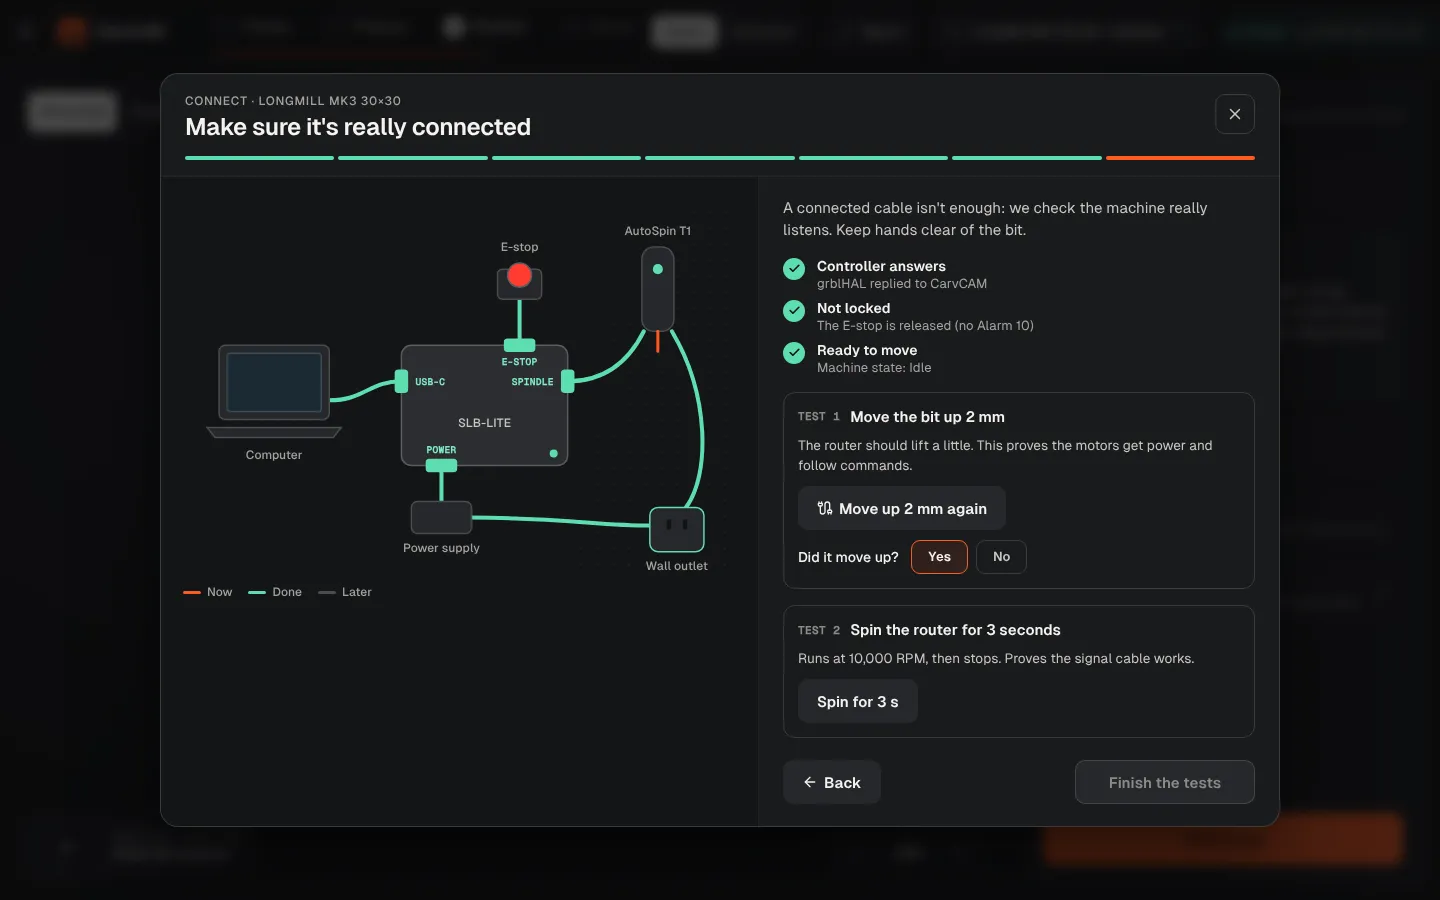
Open Connect, follow the cable checks, then click Find home so the machine knows where it is.
Clamp and zero
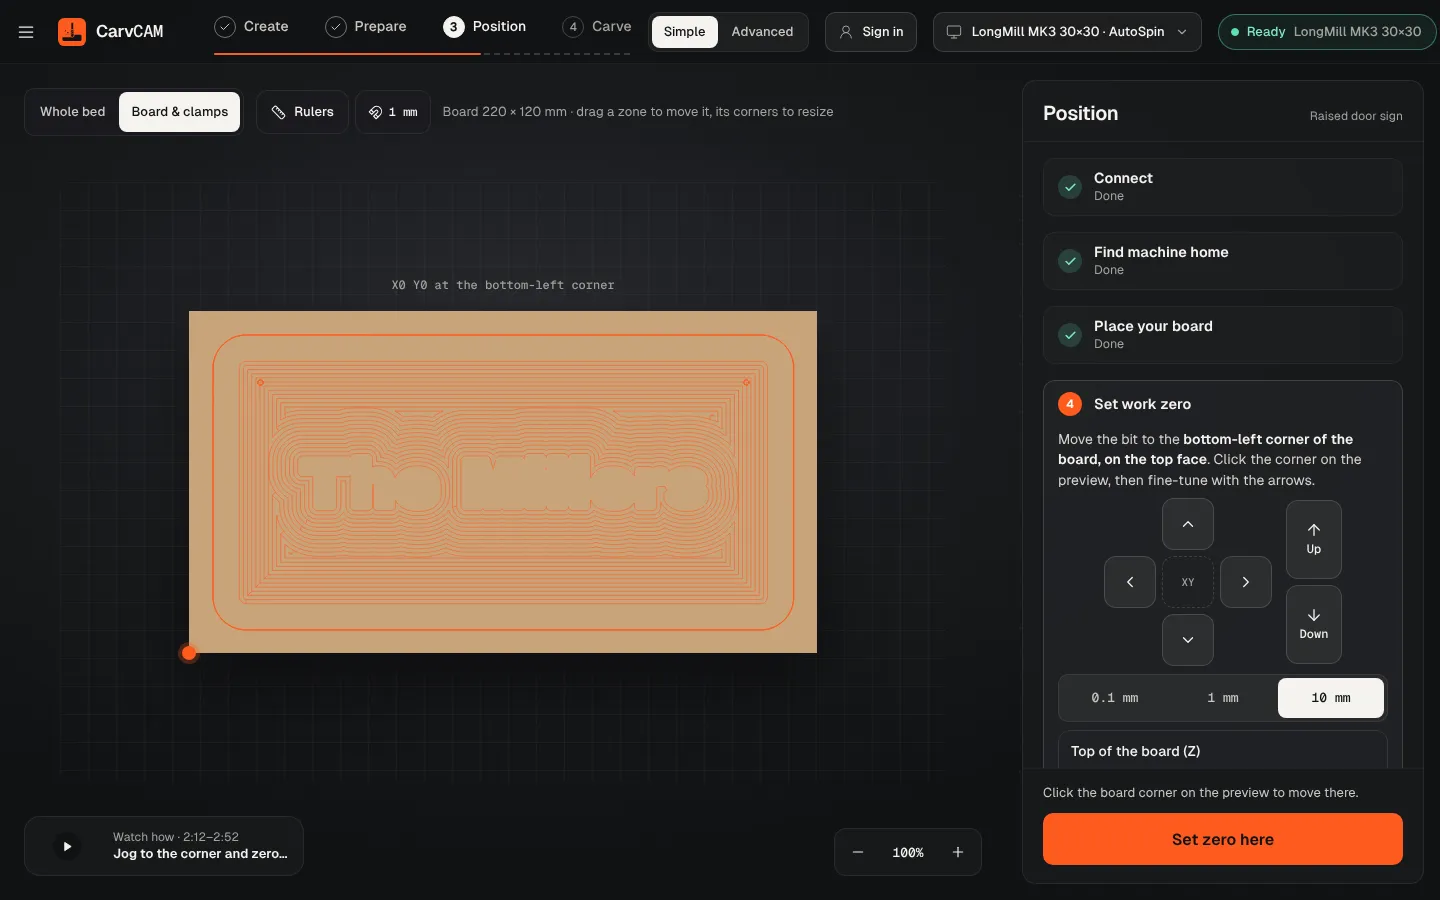
Clamp the board, measure the bit with the touch plate and set zero on the bottom-left corner.
Carve
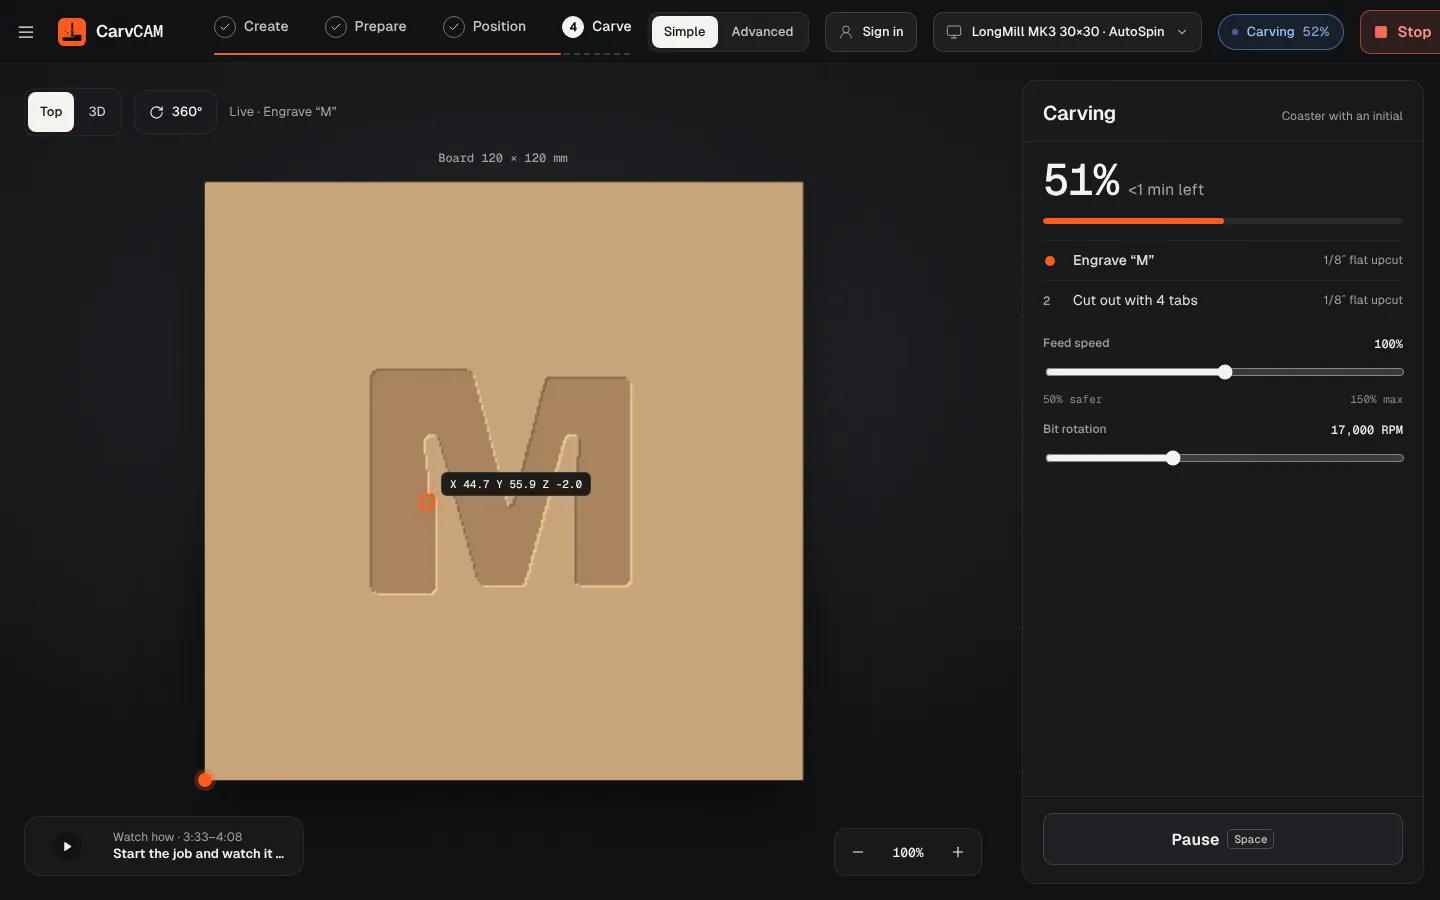
Tick the checklist and press Start. Pause with the space bar if you need to.
Finish
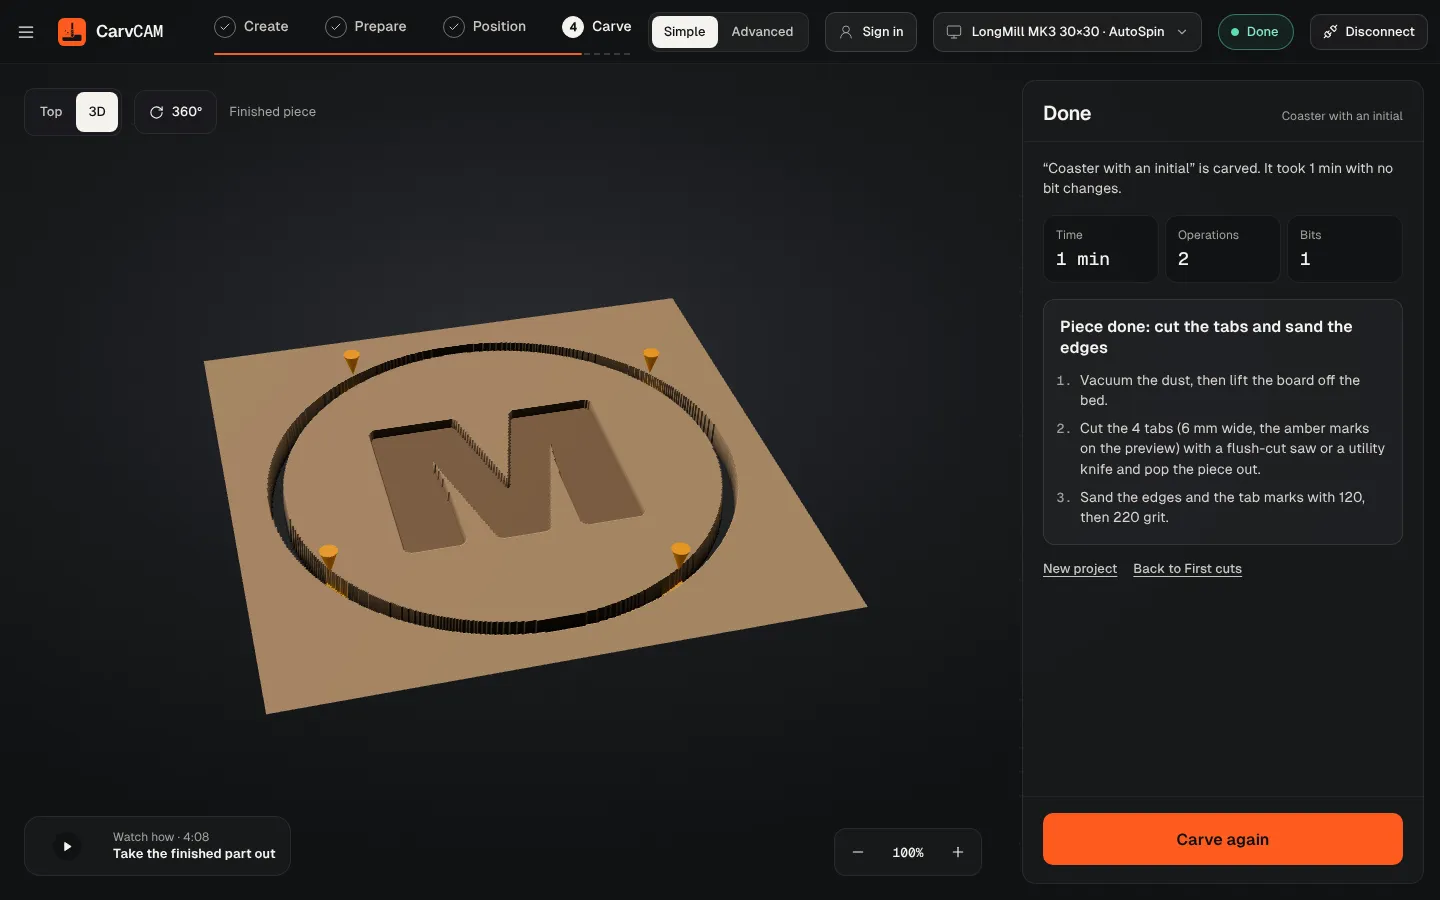
Vacuum the dust, cut the tabs if you cut the sign out, and sand with 120 then 220 grit.
From blank board to finished sign.
One app for your LongMill or AltMill.